How To Add IPs to Your Network Interface
You ordered new IP addresses, then chose the server at the same location, yet you still cannot ping them? That is because the IPs are not yet configured on your server’s network interface. There are several ways to configure it. In this article, we demonstrate what we believe to be the simplest approach.
For this example, we use this subnet:
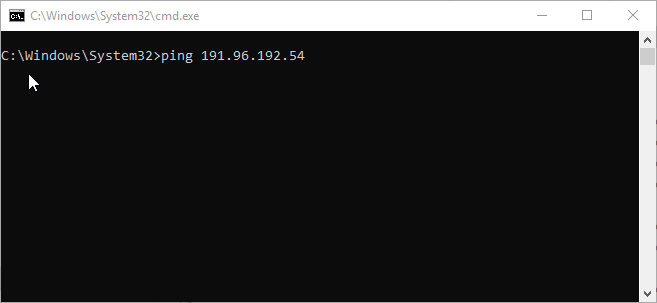
191.96.192.54/32
It is assigned to TestServer2 (cloud hosting) at Frankfurt using CentOS 7 v2.0.4.
NOTE: Do not forget to stop and then start the Cloud Hosting server after assigning extra IPs to it.
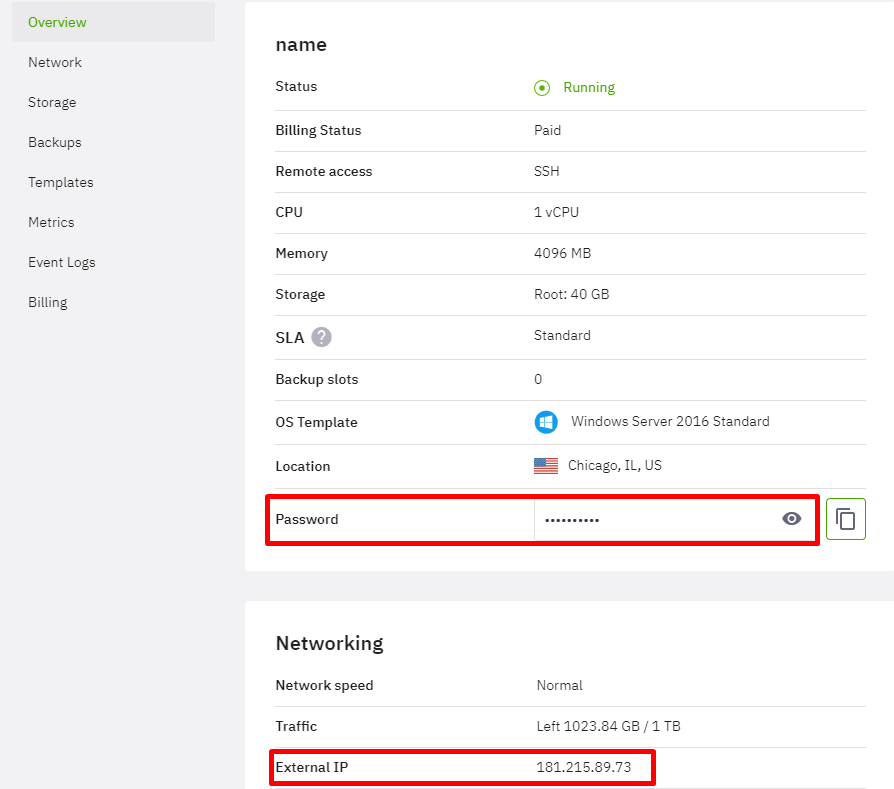
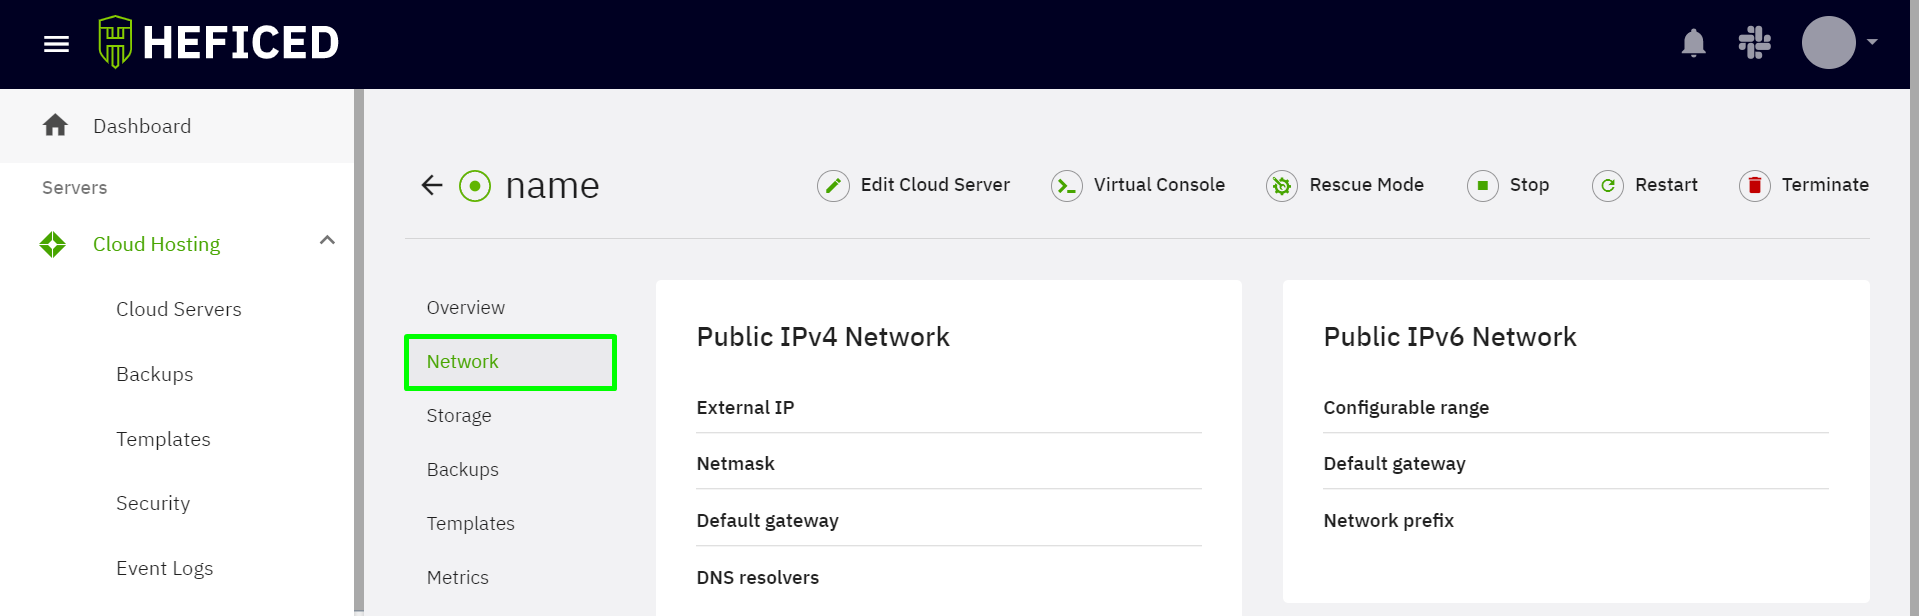
First, connect to the server. To achieve that, you need to know the main IP, user, and password or SSH key, depending on how your server is configured. You can find this information in Terminal > Cloud Hosting > Cloud Server > your server > Overview.
To connect to the server, we use PuTTY.

Copy the password before logging into the server. Use root for the user. Click the right mouse button and press Enter to paste the copied password.

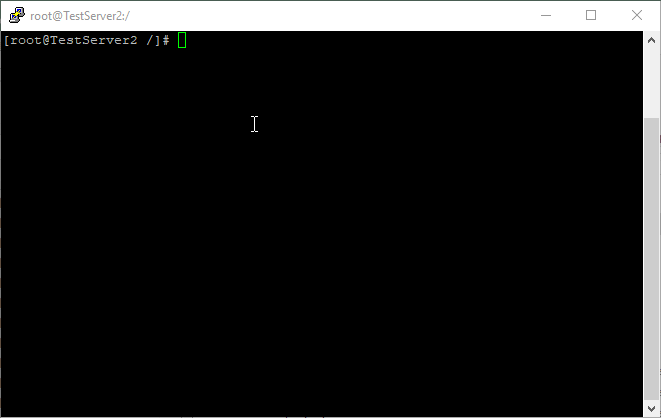
To check the current configurations of the network interfaces, type:
ip a

Next, we need the name of our network interface. The image above shows that the name is eth0, and our main IP is already configured. Now, we can add our secondary IP to the interface as an alias. We can check that the secondary IP is not configured or used by pinging it.
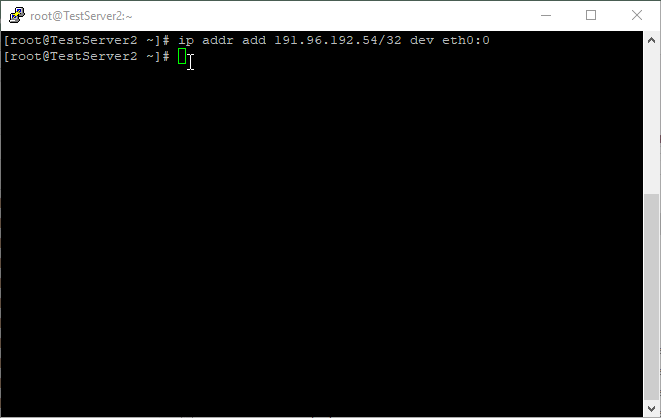
To add the IP as an interface alias, use this command:
ip addr add 191.96.192.54/32 dev eth0:
For IPv6, use this command:
ip -6 addr add fdxx:xxxx:xxxx:yyyy:zzzz:zzzz:zzzz:zzzz dev eth0:
Now, we can check whether it is pinging.
We can also inspect the network interface on the server using this command:
ip a
NOTE: Once you restart the server, this configuration is dropped. To resolve this issue, use the rc.local script, which is traditionally executed after all the normal system services have started. To edit the script, you can use any available editor. We use the NANO editor. If you wish to install NANO for Debian and Ubuntu systems, you can do that using this command:
sudo apt-get install nano
For CentOS systems, use this command:
yum install nano
Now, go to /etc using this command:
cd /etc,
Type
nano rc.local
Into this file, type the commands you want to keep after the restart. Save the file using the CTRL+X shortcut.
NOTE: You can paste the commands in PuTTY using the right mouse button.
Once you save the file, type
chmod +x /etc/rc.d/rc.local
and
chmod +x /etc/rc.local
This ensures that your script is executable.
You can check whether your configurations are saved after the restart by typing
sudo reboot
reconnecting to the server and then inspecting the configuration by typing
ip a
Important: If your configuration is not saved, you may fail to make the script executable. Also, if you cannot perform these steps because rc.local script is disabled, you will need to enable rc.local.
NOTE: All IP addresses routed to your server have the same gateway. Regardless of how you configure additional IP addresses, they will have the same gateway. By default, all additional IP ranges are being routed statically to the server’s main IP address. The gateway can be found in your server’s overview page, Network tab. Alternatively, type ip r when you are inside your server.
Approach 2: Configure the full IP range
You can also configure IPs using a script that can automatically configure the IP range once the network is restarted. Before you begin, you have to know the name of the interface. In our example, we use
eth0
The additional IP has to be assigned to the server via Terminal, and the server should be stopped/started before assigning the IPs.
Let’s go to
network-scripts
folder:
cd /etc/sysconfig/network-scripts
Then create a new file:
vi ifcfg-eth0-range0
Note that eth0 is the network interface name and range0 is the number of the range to add. So, the next file would be
ifcfg-eth0-range1
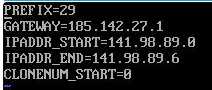
Now, let’s configure the file.
The range we are trying to add is 141.98.89.0/29, and we use the gateway for the main IP of the server as the gateway.
To find the gateway of the main IP of the server, go to Terminal > Cloud Hosting > Cloud Servers > your server > Network.
Now, configure the file.
Restart the network service.
systemctl restart network
Inspect the configuration.
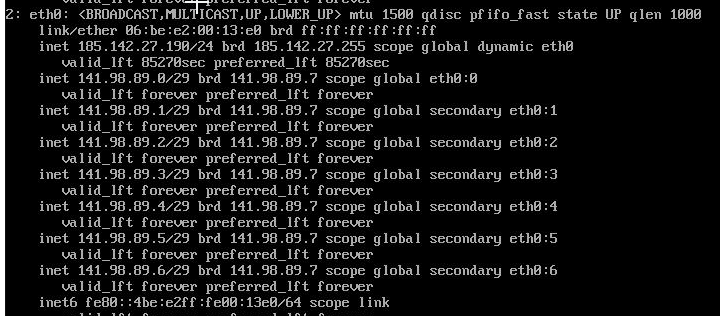
Check the connection.
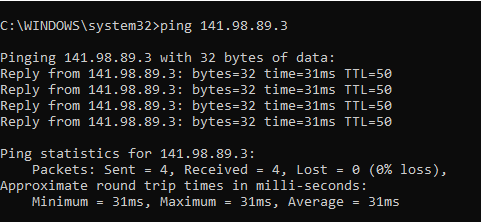
The range is now configured on the network interface.
Was this article helpful?
Need support?
If you need any further help, don't hesitate to send a support request to our support team.