How To Add IPv6 to Your Network Interface in a Cloud Server
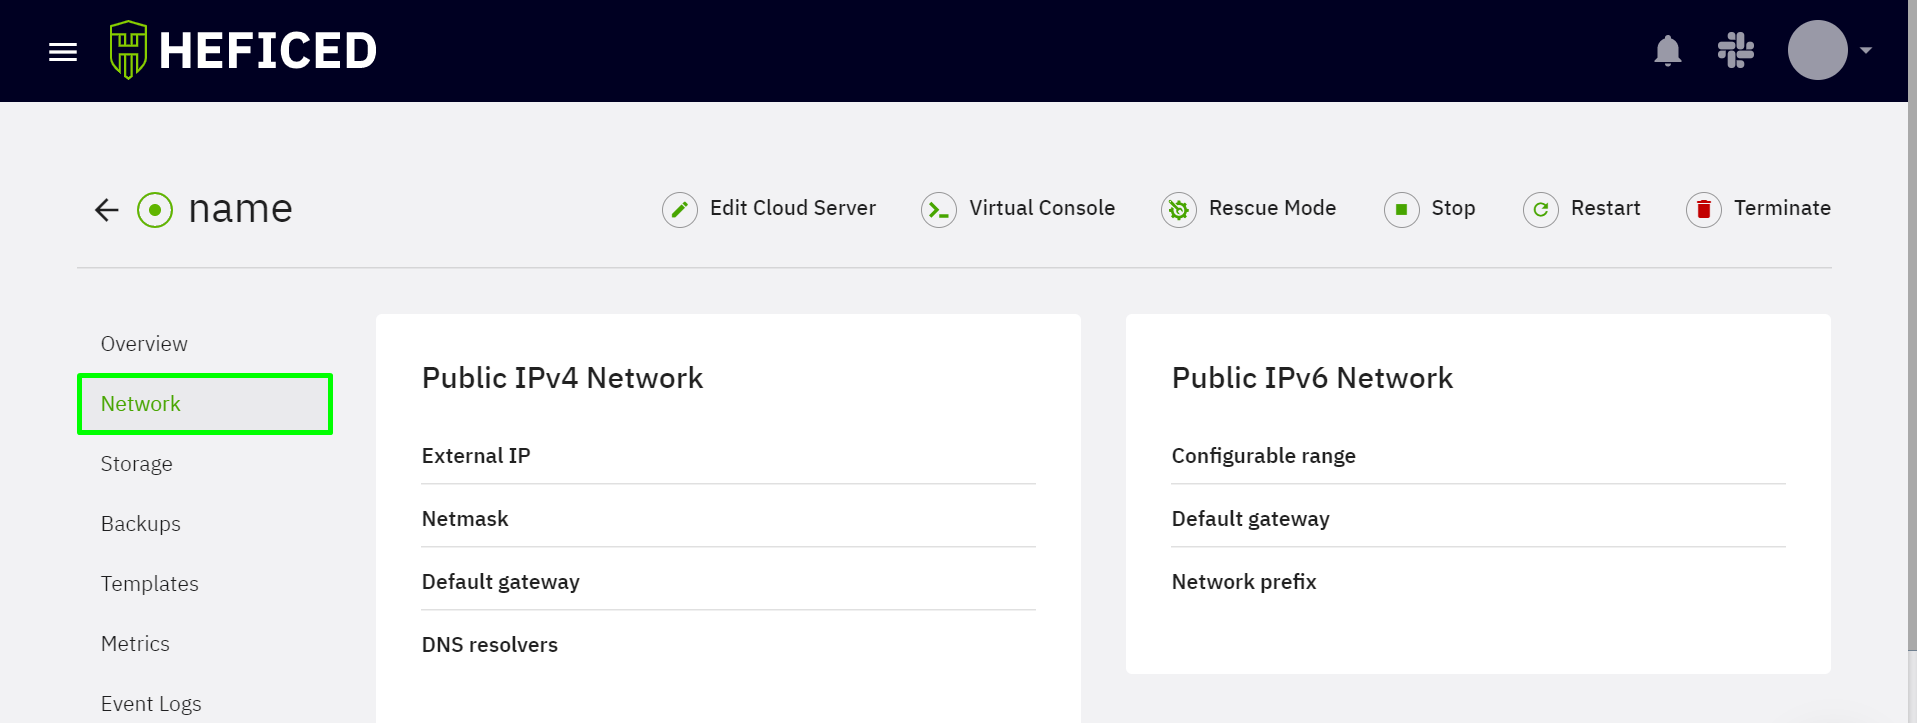
You can find all of your IPv4 and IPv6 information related to your Cloud Server in the Network tab.
How to add IPv6 in CentOS 7/8 Network Interface
1. Log in to your server as the administrator.
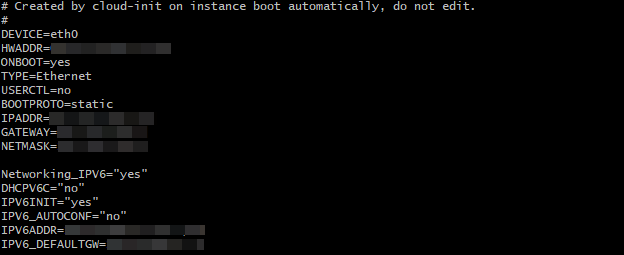
2. Navigate to /etc/sysconfig/network-scripts/ directory and open your network interface file. In our example, it is ifcfg-eth0. Details and interface may vary; however, it should look similar to this:

3. Add the following lines in the file with your IPv6 address information and save your file:
Networking_IPV6="yes"
DHCPV6C="no"
IPV6INIT="yes"
IPV6_AUTOCONF="no"
IPV6ADDR=x.x.x.x
IPV6_DEFAULTGW=x.x.x.x
Configuration should look similar to this in the end:
4. Navigate to /etc/cloud/ and open cloud.cfg file. Add these lines at the end of the file and save it:
network:
  config: disabled
This prevents your network interface from being reset to a default configuration upon server restart.
5. Restart your network.
6. Test your IPv6 in a cloud server by pinging it to see if it was configured successfully:

Relate articles:
Was this article helpful?
Need support?
If you need any further help, don't hesitate to send a support request to our support team.