How to configure Firewall on Windows server?
Windows Firewall is a security application created and built into Windows operating systems, designed to filter network data transmissions to and from your system and block harmful communications along with programs that are initiating them.
Brute-force situation & practice
Imagine a situation where your Windows server is being brute-forced via port 389 and you want to discard those brute-force attempts while only allowing your IP to access the server using Windows Firewall.
We can easily protect ourselves by configuring a rule that will allow the use of LDAP only from specific IP addresses. A video below will show how it is possible to achieve this:
By doing so, we have only allowed 191.101.164.184 to reach TCP port 389.
Make sure to perform the same steps on UDP as well!
Firewall Rules in more detail
One of the most beneficial aspects of keeping your server secure is setting up Windows Firewall rules. We will show you how easy it is to configure, edit and manage.
Note: In this article, we will use RDP (Remote Desktop Protocol) to manage the Windows server.
IMPORTANT: Be very careful when editing and creating new rules: it is possible to block yourself and lose all connections to the server. If this happens, make sure to access our Virtual Console in your Terminal.
Note: In this example, we will show you how to completely block port 389. If you are using LDAP (Lightweight Directory Access Protocol), use the instructions above for enabling access from your IP or else you can lose connection to your server!
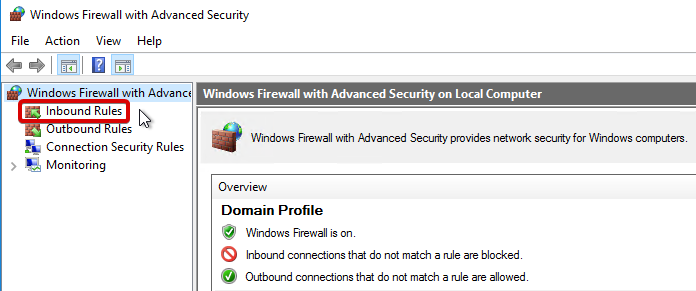
STEP 1: ‘Access Windows Firewall with Advanced Security‘. You can do it by using Windows Search tool.

STEP 2: We can choose what type of rules we are going to create or edit. Let’s say we want to add a rule for incoming connections, therefore, we will access ‘Inbound Rules‘ tab.
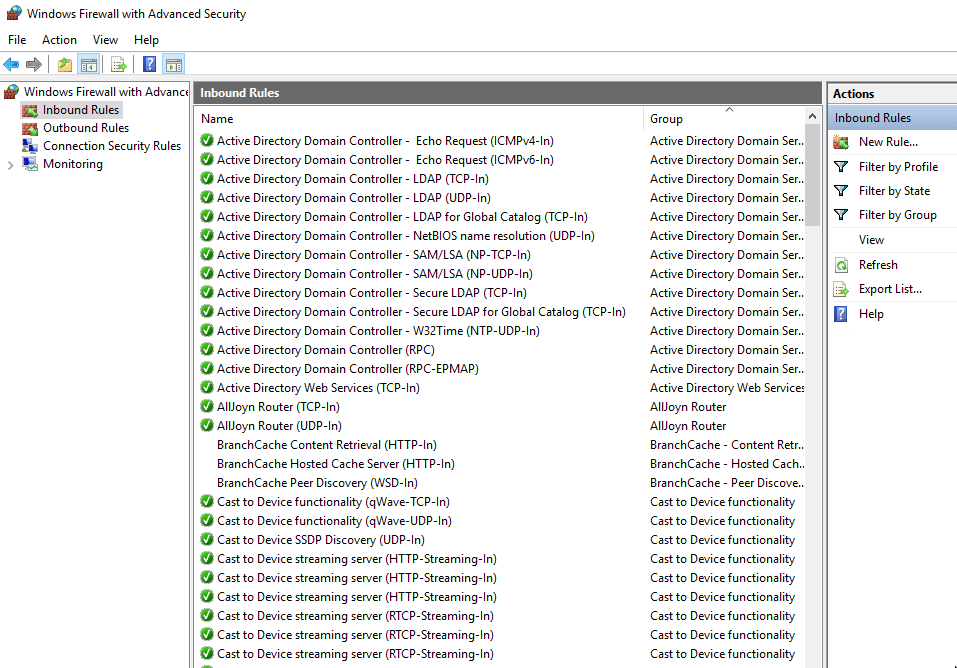
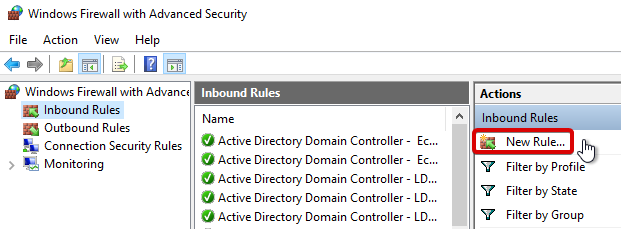
STEP 3: We can now see all the rules that are set by default for all incoming traffic. We can proceed to create our own rule by clicking on ‘New Rule…‘
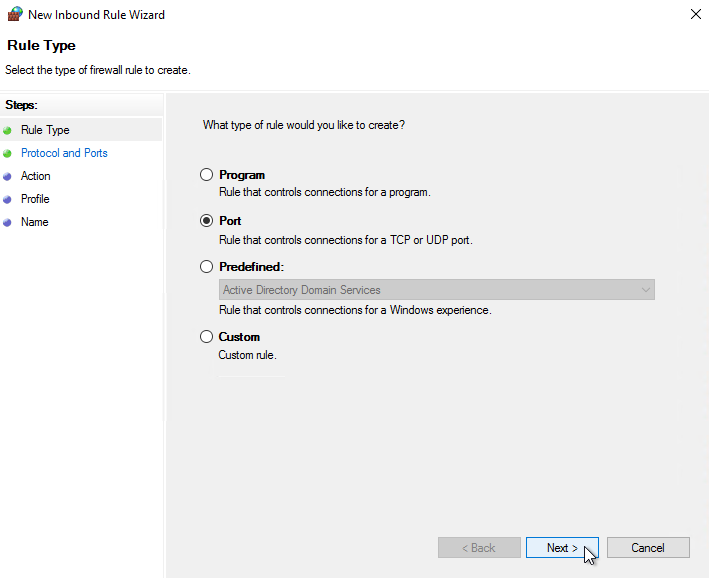
STEP 4: From here, we can choose what type of rule we are creating. Supposing that we want to manage connections on a specific port, we choose ‘Port‘ and press ‘Next‘ to proceed.
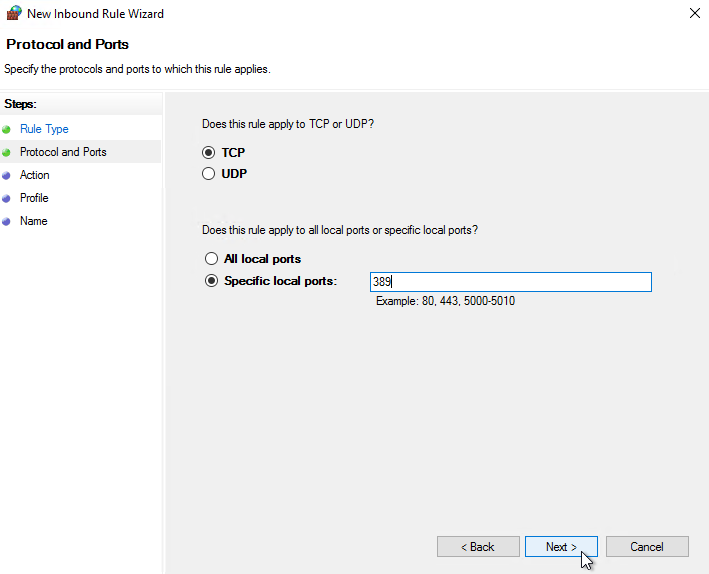
STEP 5: At this point, we can choose a port type (TCP or UDP) and specify the exact port number. Once the required settings are configured, click ‘Next‘ to choose an action.
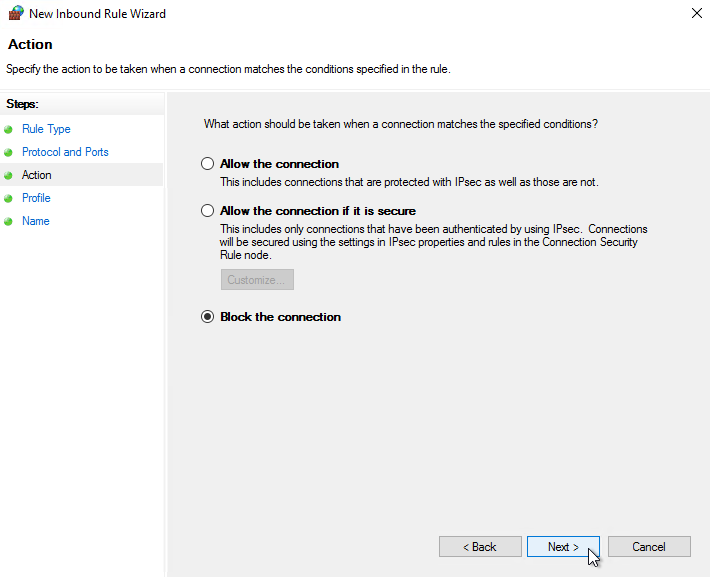
STEP 6: From here, we get to choose what will happen to connections on the specified port. There are 3 options here:
- Allow connections from any IP address or only from specified IP addresses.
- Allow connections that are protected with IPsec.
- Block all incoming connections.
Once the desired action is chosen, proceed further by clicking ‘Next‘.
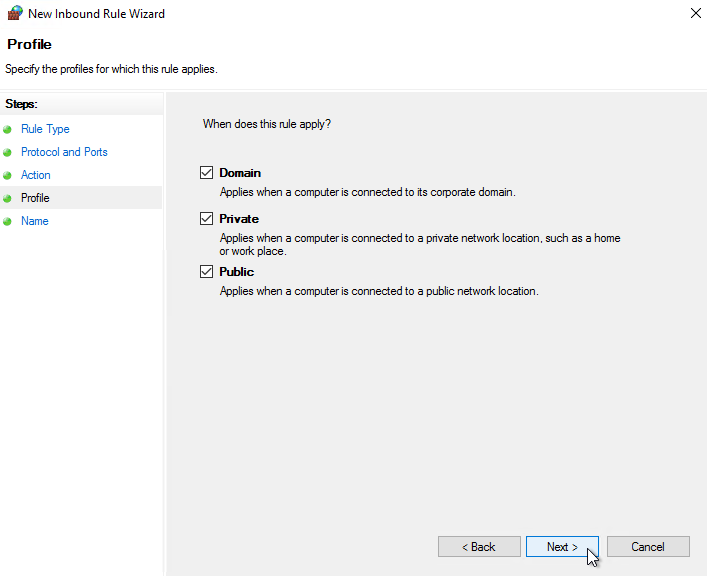
STEP 7: In the profile tab, you can choose when this rule will work. We will use all of the options for this example. Press ‘Next‘
STEP 8: At this step, make sure to give a proper name and description to your Firewall rule so it would be easy to understand what this rule does. Since this is the final step, you can create this rule by clicking ‘Finish‘.
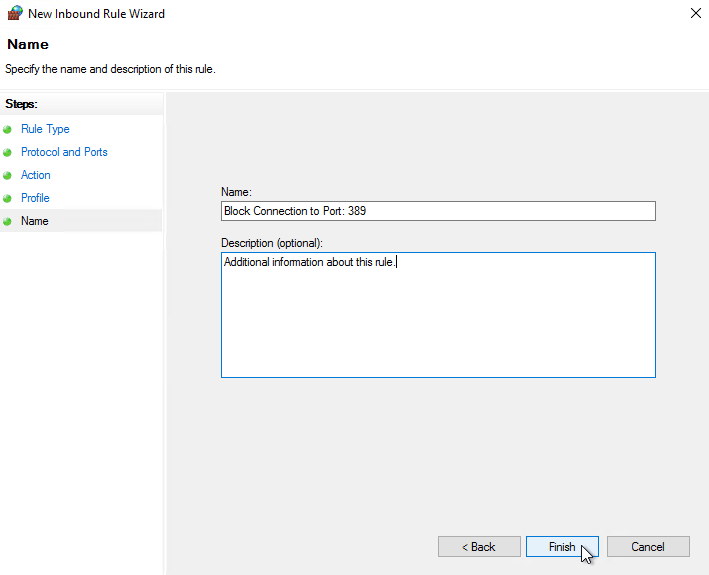
Congratulations! New rule is created that will block all incoming connections to the port 389. It takes effect immediately.
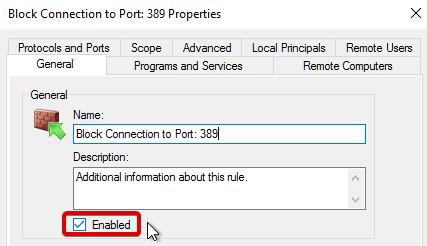
Keep in mind that you can easily Enable or Disable any Firewall rules by right-clicking on the specific rule -> Properties -> General.
If you have any questions or issues, feel free to contact our customer support team at Terminal -> Support -> Cases -> Submit a Ticket.
Alternatively, you can email us at: support@heficed.com
Was this article helpful?
Topics
Need support?
If you need any further help, don't hesitate to send a support request to our support team.